Installation on Windows using installer
This chapter guides you through the installation process of SmartFace prerequisites and SmartFace Platform on Windows OS.
The installation process consists of three basic steps:
Operating system requirements
Operating system: Windows Server 2016 (x64), Windows Server 2019 (x64), Windows 10 PRO (x64).
English language pack with English character set
A character set different from English may cause SmartFace installation failure and SmartFace malfunction.
Do not use any other Windows 10 edition than Windows 10 PRO edition.
Use Windows 10 only for evaluation purposes. For production, use Windows Server or Linux OS.
Windows 10 N edition is missing Media Feature Pack. It is required that this pack is installed on the machine for proper functioning of SmartFace Platform.
SmartFace version 4.10 and higher versions require the CPU support AVX2 instruction set , eg Intel Haswell microarchitecture or AMD Zen family
Install prerequisites
Prerequisites can be installed manually, or automatically by using the Prerequisites installer. It is required to install and configure the following software prerequisites on the server before you start the SmartFace installation:
MS SQL Server / Express
RabbitMQ
Erlang
Microsoft Visual C++ 2015-2019 Redistributable (x64)
OpenVINO Toolkit
NVIDIA cuDNN
NVIDIA TensorRT
Prerequisites installer
Prerequisites can be installed and configured automatically by standalone Prerequisites installer. Prerequisites installer requires internet connection.
Always use Prerequisites installer with the same major and minor version as your SmartFace Platform. For example, use Prerequisites installer v3.0.X when installing SmartFace Platform v3.0.0.
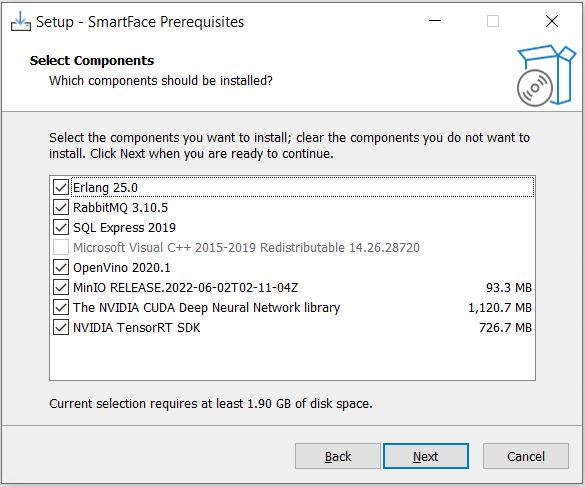
The installer deploys the following components:
MS SQL Server Express 2019
Prerequisites installer installs the MS SQL Server Express 2019 and sets up a database and creates a database user for the SmartFace Platform.
The maximum size of the MS SQL Server Express database is 10 GB and is suitable for small-scale deployments.
The default parameters are as follows:SQL instance: localhost\sfexpress
SA password: smartface
DB user: smartface
password: smartface
RabbitMQ
Erlang
Microsoft Visual C++ 2015-2019 Redistributable (x64)
OpenVINO Toolkit
NVIDIA cuDNN
NVIDIA TensorRT
Prerequisites installer installs NVIDIA libraries in the c: \ Program Files \ innovatrics \ smartface directory by default. If the installation directory is different, then these libraries need to be copied manually.
Execute the Prerequisites installer
Visit our CRM portal at crm.innovatrics.com and login with your credentials.
Your sales representative will provide you the credentials for the CRM login.
Go to SmartFace > Download, section Downloads and download SmartFace_PreReq_Installer_X.Y.Z.exe (X.Y.Z. is the version number).
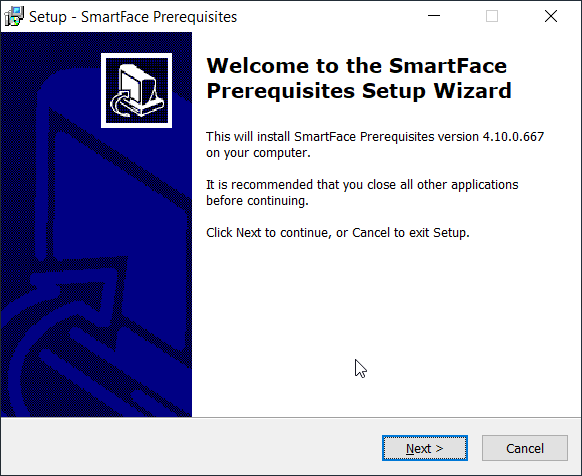
Run the SmartFace_PreReq_Installer.exe as an administrator (select Run as administrator).
Click Next. The wizard checks whether any of the prerequisites have already been installed.
Select the components which you want to install. By default, all options are selected.
Click Next.
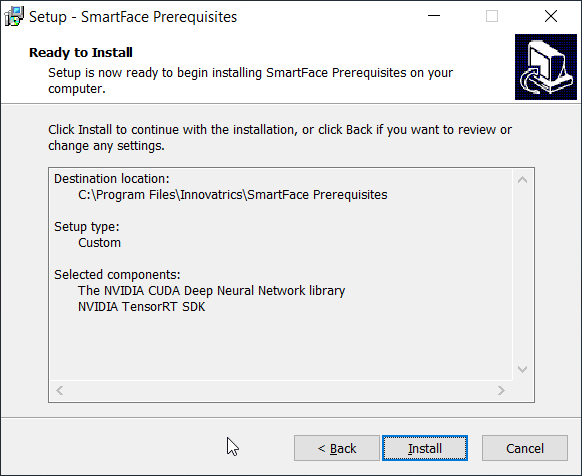
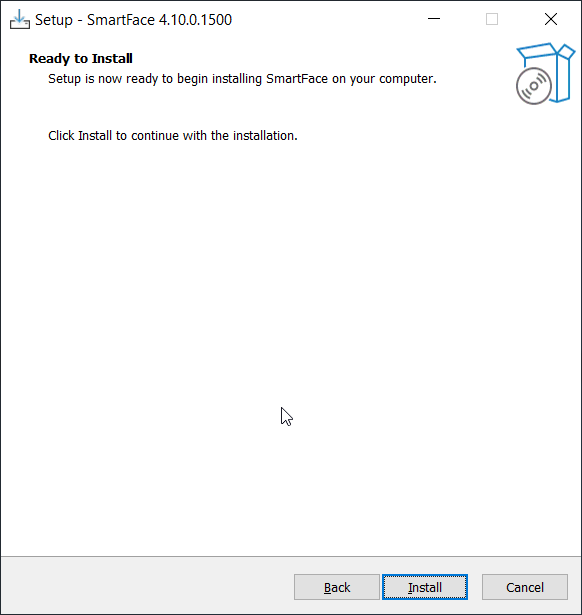
Review the selection and click Install.
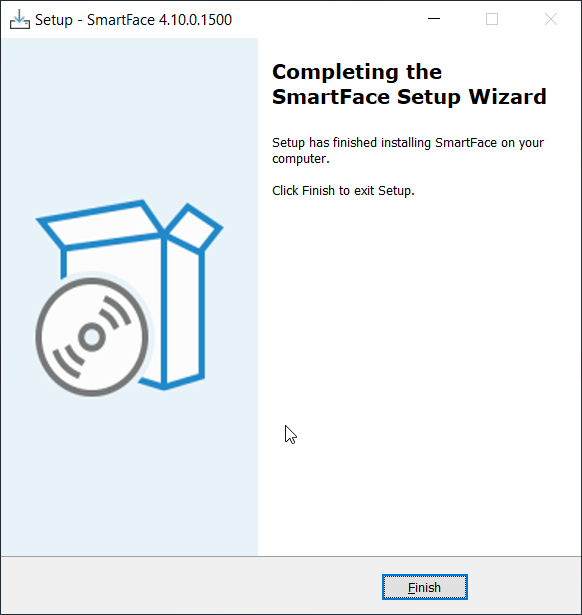
After installation click Finish.
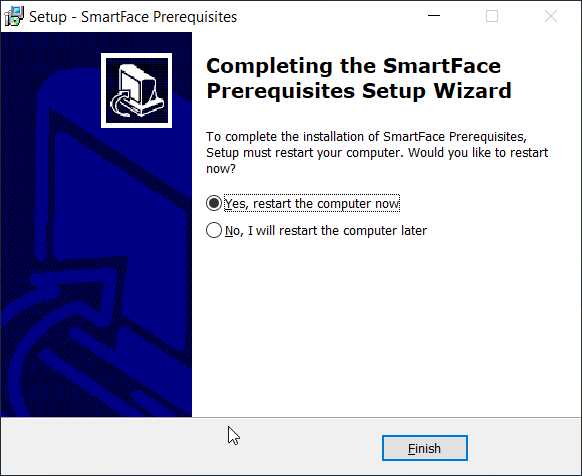
Prerequisites installation wizard
Activate the SmartFace Platform license
SmartFace license is required for the correct functionality of Innovatrics SmartFace. It needs to be activated before the installation of SmartFace. Follow these steps to obtain and activate the license:
Visit our CRM portal at crm.innovatrics.com and login with your credentials.
Your sales representative will provide you the credentials for the CRM login.
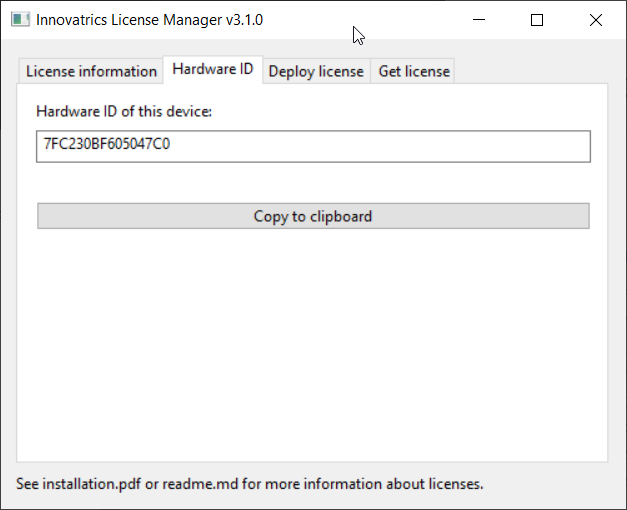
Go to SmartFace > Download, section Downloads and download LicenseManager.exe. Then, run the LicenseManager.
Select the tab Hardware ID and copy the generated ID.
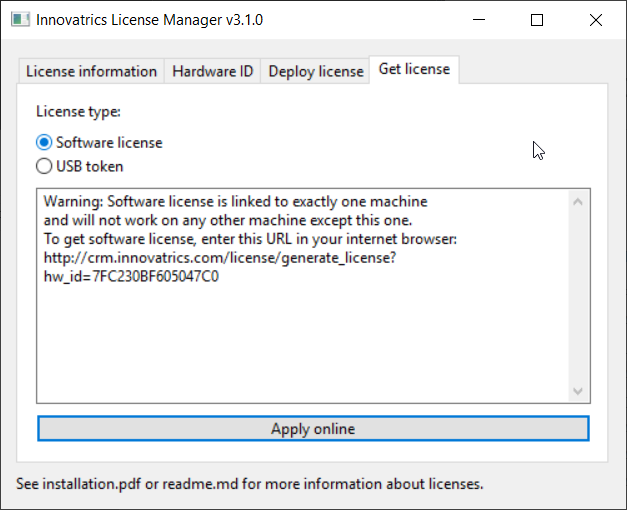
Go to the Get License tab, select Software license and click Apply online. This step directs you back to CRM, to section Licenses.
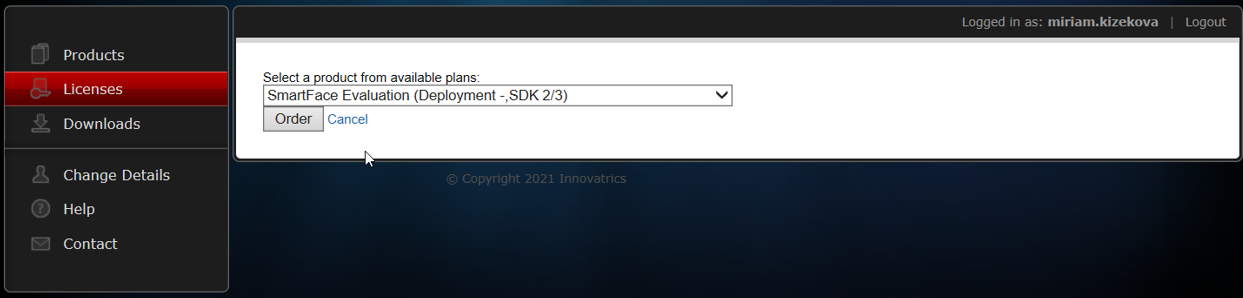
Choose from the drop-down the SmartFace product and click Order.
The Licenses tab is opened in CRM. The following fields are prefilled.
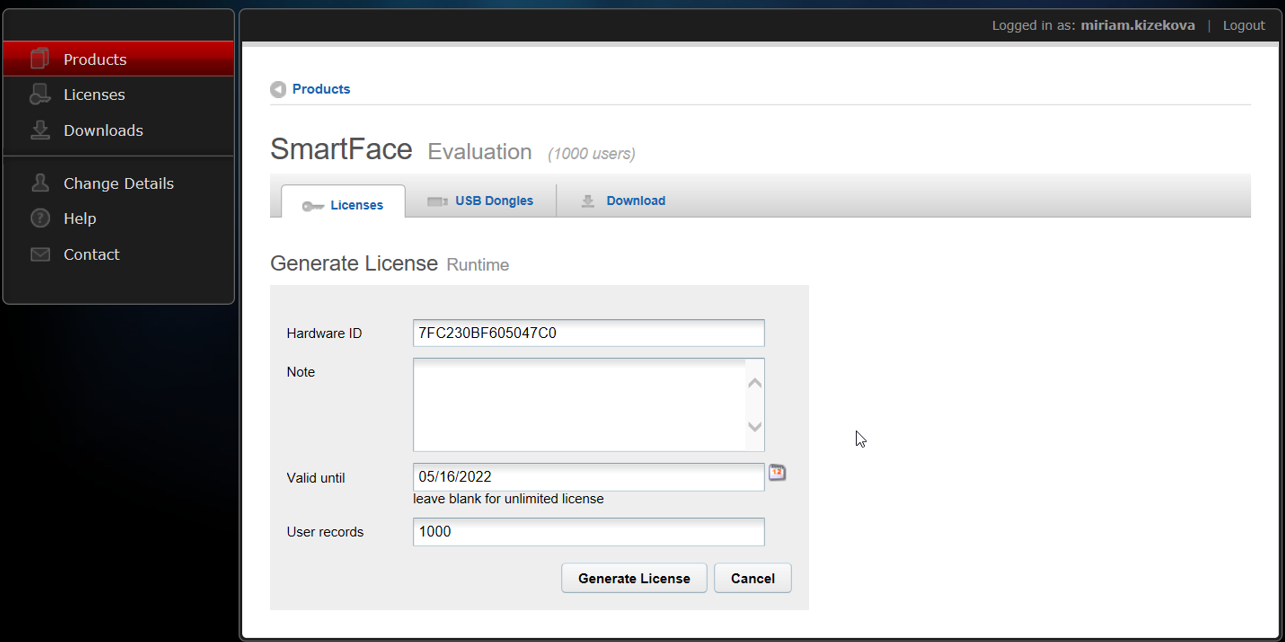
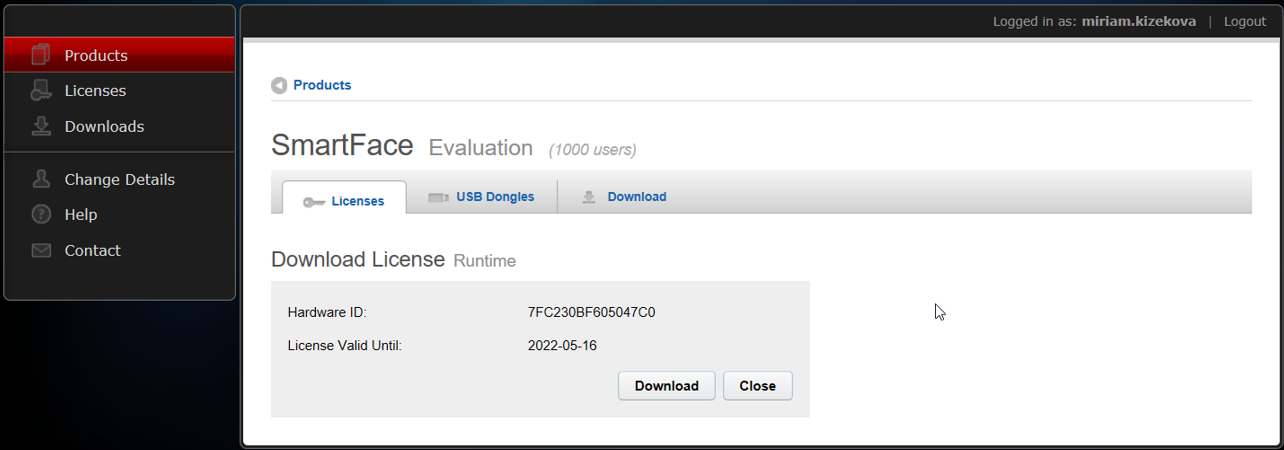
Click Generate License.
Click Download and save.
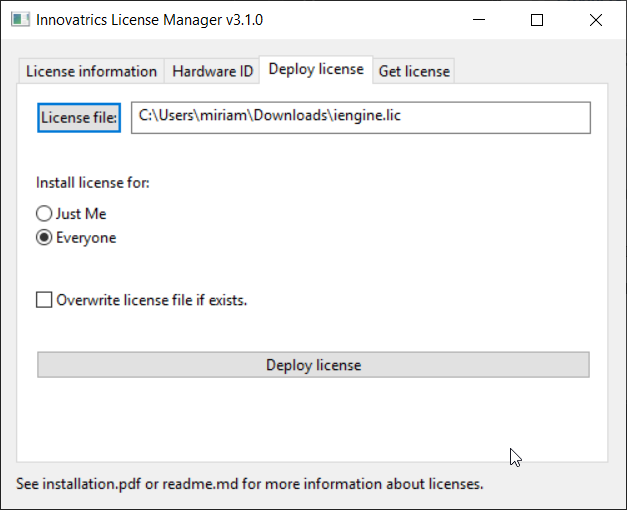
Go to LicenseManager, the Deploy license tab.
Upload the downloaded .lic file into the LicenseManager.
Select to activate the license for Everyone and press button 'Deploy license'.
Install SmartFace Platform
Please make sure you have installed all prerequisites and deployed the license before starting the SmartFace Platform installation. If you have used the Prerequisites installer, the default values are prefilled.
To install SmartFace Platform, perform the following steps:
Close any application (Task Manager or the Services utility) which can interact with the Windows services.
Visit our CRM portal at crm.innovatrics.com and login with your credentials.
Your sales representative will provide you the credentials for the CRM login.
Go to SmartFace > Download, section Downloads and download SmartFace_Platform_Installer_x64_X.Y.Z.exe installer (X.Y.Z. is the version number).
Run the SmartFace_Server_x64_X.Y.Z.exe installer as an administrator (select Run as administrator).
Accept the license agreement.
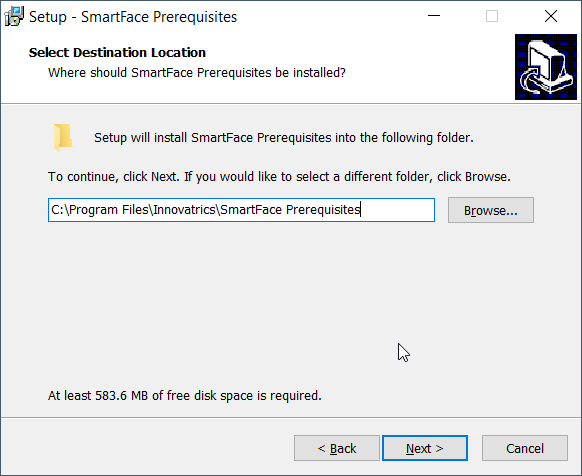
Select a destination, where SmartFace will be installed. By default, it is C:\Program Files\Innovatrics\SmartFace.
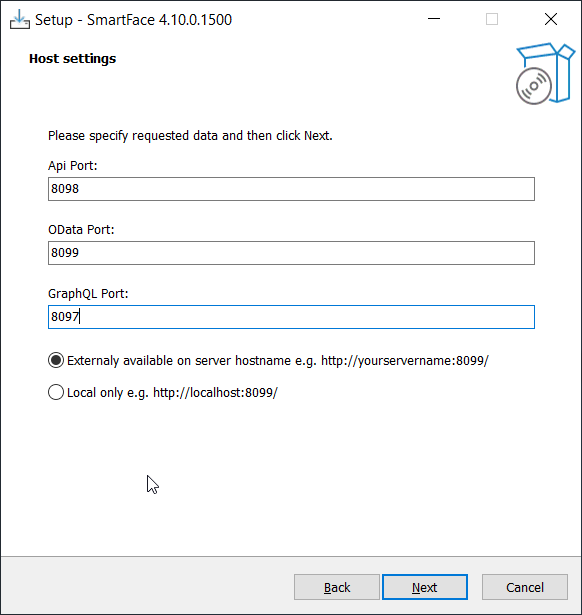
Fill in the Host settings
Port for SmartFace API endpoint. The default value is 8099. The API endpoint will be available on the following addresses:Api port: 8098
OData Port: 8099
GraphQL Port: 8097
Choose the availability of the SmartFace API:
Externally available: API is available from outside of the server
Local only: API is available only from the localhost
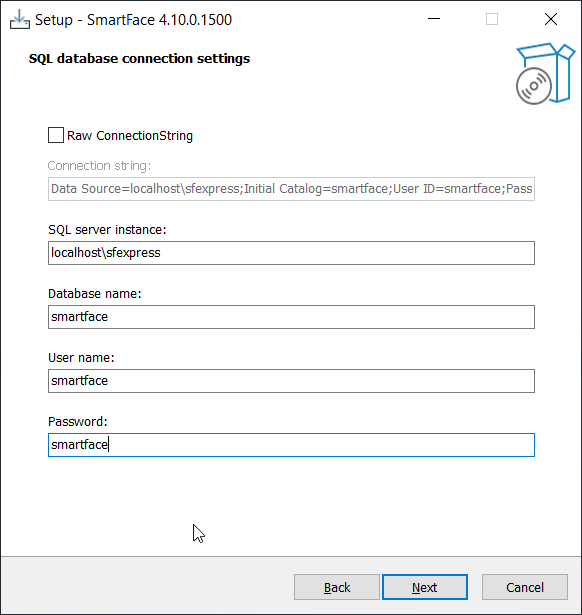
8. Fill in the SQL database connection settings
If you have used the Prerequisites installer, the default values are pre-filled. Otherwise, you should provide the following information:
MsSql server instance — an instance of the database engine, e.g.:
localhost\sfexpress: default instance of MS SQL Server Express installed by the Prerequisite installer
localhost\SQLEXPRESS: default instance of MS SQL Server Express
localhost: default instance of MS SQL
Database name
User name
Password
You can also select Advanced connection string settings and build the connection string yourself:
The SmartFace Platform services run under the LocalSystem account, so we are not supporting Integrated Security.
The connection string includes the following parameters, which are semicolon-separated:
data source=SQLserverinstance; (typically localhost or servername or localhost\SQLEXPRESS)
initial catalog=databasename;
User ID=username;
Password=password;
multipleactiveresultsets=False;
connect timeout=60;
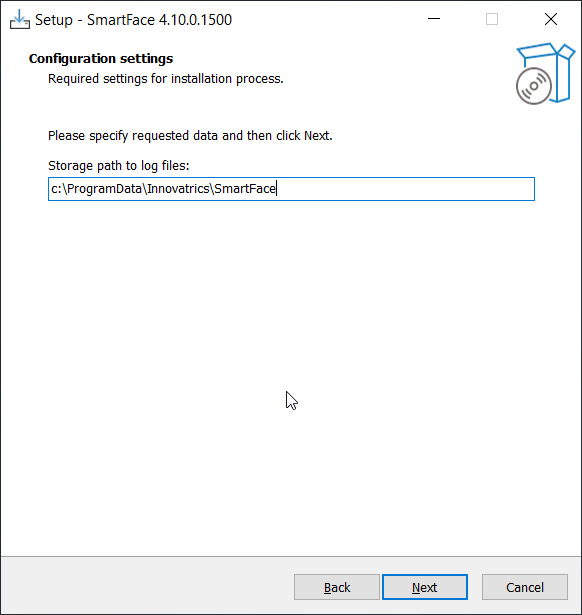
9. Fill in the Configuration settings
Path to NoSql database. By default, it is C:\ProgramData\Innovatrics\SmartFace\Data.
It is recommended to use a standalone disk (where the OS is not installed) with enough space for storing images from camera streams;Path to log files . By default, it is C:\ProgramData\Innovatrics\SmartFace
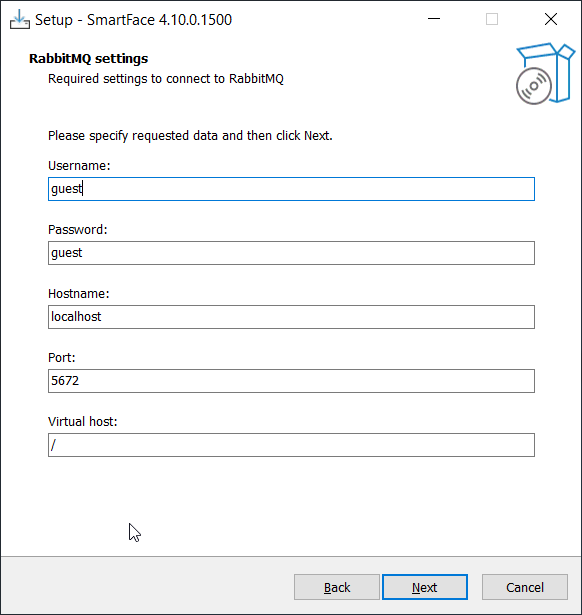
10. Fill in the RabbitMQ connection parameters
Please provide connection information for RabbitMQ.
11. S3 settings - setting for S3 blob storage (Minio)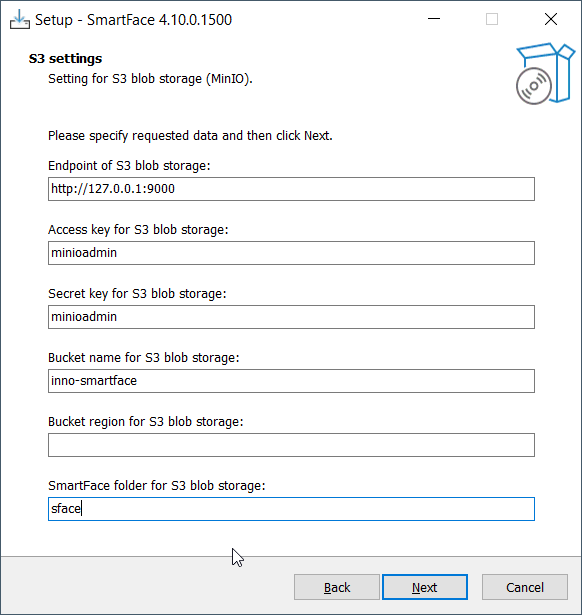
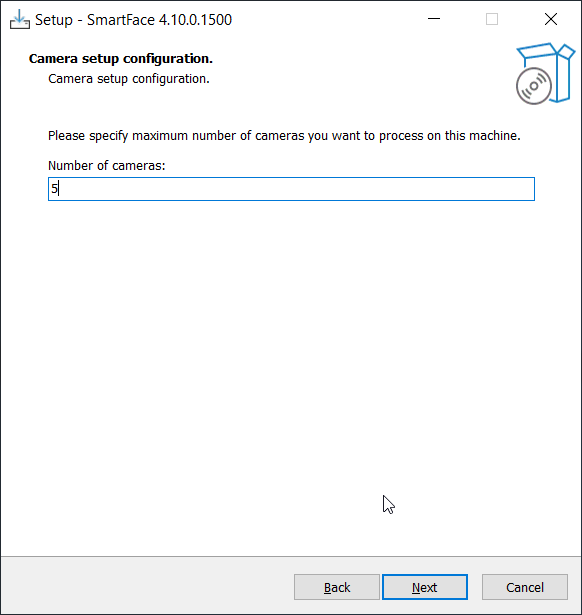
12. Camera setup configuration
Define the maximum number of cameras that could be registered during installation. This number determines the maximum number of cameras which will be possible to create, as each camera processing is handled by one process (SmartFace_Camera service).
If you want to register more cameras after the installation, you would have to start the installer again to reconfigure the SmartFace Platform.
The highest number which can be entered is 100. For each camera, one Windows service needs to be registered.
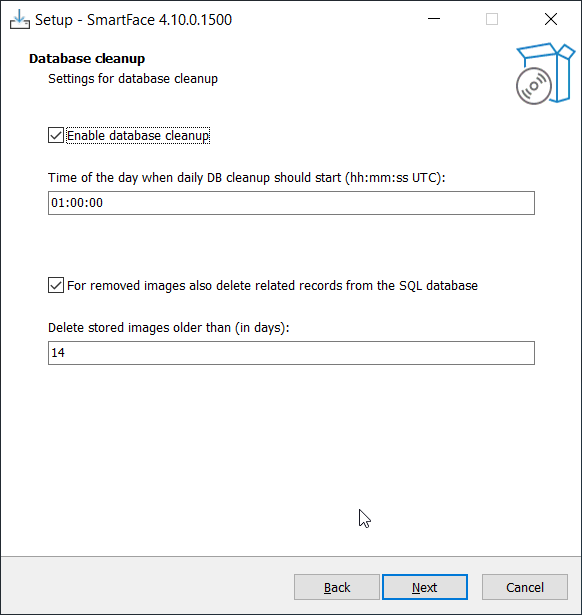
13. Set up the Database cleanup.
Set up the daily database cleanup
Enable database cleanup (checked by default): Enables the daily database cleanup. Then, fill in Time of day when the daily database cleanup should run. The time is specified in the hh:mm:ss format in the UTC time zone.
Set up the cleanup of SQL and NoSQL records related to faces and images.
For removed images also delete (checked by default): Deletes all SQL and NoSQL records related to faces and images. To delete only full images from streams in the NoSQL database, clear this checkbox.
Deleted stored images: cleanup process deletes all image data older than the entered value (in days).
Set up the cleanup of match results.
Enable if you want to cleanup also match results for faces which are no longer present in database (were deleted).
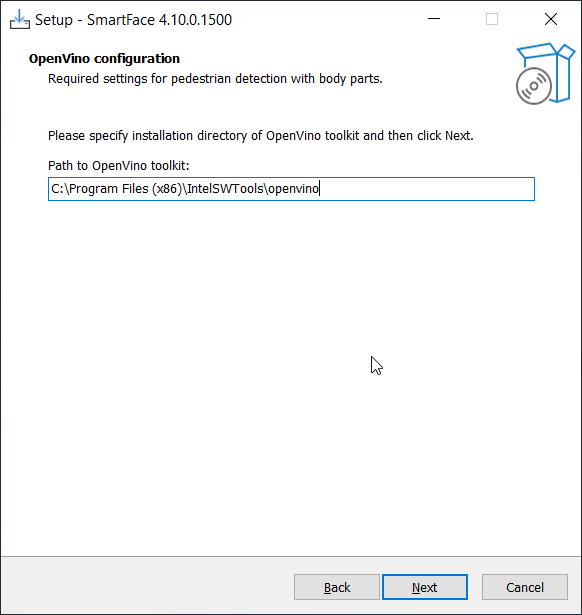
14. Set up the OpenVino configuration and click Next
required for body parts detection
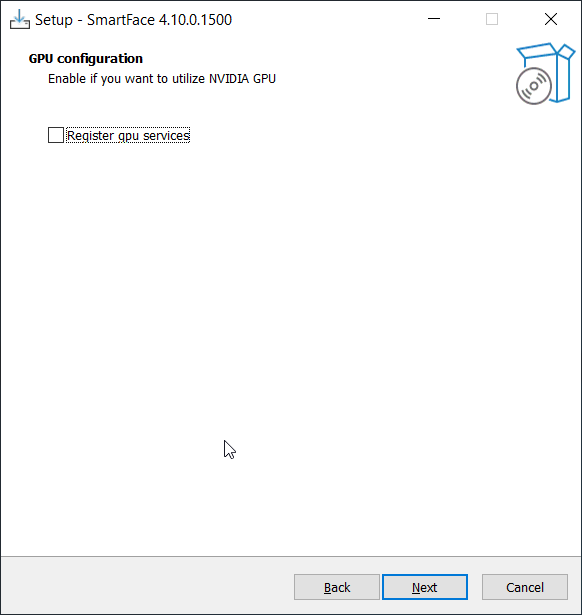
15. Set up the GPU configuration and click Next. Windows services with GPU support will be installed on the system that belongs to the CPU services.
16. Install the SmartFace Platform
After installation
After the SmartFace Platform is installed, you can view the status of the following services in Task Manager services tab (depending on your installation settings).
These services should be in running state.
|
Service Name |
Service Description |
|
SFApi |
SmartFace Api Service |
|
SFBase |
SmartFace Base Service |
|
SFBodyPartsDetectCpu |
SmartFace pedestrian with bodyparts detection on CPU/GPU services |
|
SFBodyPartsDetectGpu |
SmartFace pedestrian with bodyparts detection on GPU services |
|
SFCam01, SFCam02, ... SFCamXX |
SmartFace Camera Services |
|
SFDetectCpu |
SmartFace Detection on CPU Service |
|
SFDetectGpu |
SmartFace Detection on GPU Service |
|
SFExtractCpu |
SmartFace Extractor on CPU Service |
|
SFExtractGpu |
SmartFace Extractor on GPU Service |
|
SFFaceMatcher |
SmartFace Face Matcher Service |
|
SFGraphQLApi |
SmartFace GraphQL Api Service |
|
SFGroup |
SmartFace Grouping Service |
|
SFLivenessCpu |
SmartFace Liveness detection on CPU Service |
|
SFLivenessGpu |
SmartFace Liveness detection on GPU Service |
|
SFODataApi |
SmartFace OData API Service |
|
SFPedestrianDetectCpu |
SmartFace Pedestrian detection on CPU Service |
|
SFPedestrianDetectGpu |
SmartFace Pedestrian detection on GPU Service |
|
SFVideoDataAggregator |
SmartFace Offline Video Data aggregatior Service |
|
SFVideoDataCollector |
SmartFace Offline Video Processing data collector Service |
|
SFVideoReader |
SmartFace Offline Video Processing reading Service |
|
SFWatchlistMatcher |
SmartFace Matching Service |